Digitizing Art Files
December 20, 2019

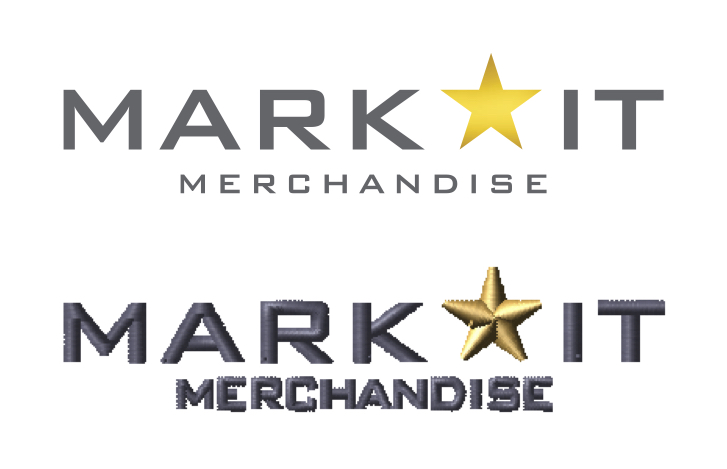
Ever wonder how a company logo or cool design goes from a standard image to a beautifully embroidered shirt? The process is called digitizing and the artists that do it are, as you probably already guessed, digitizers. Digitizing is redrawing a logo or design as stitches in a special embroidery software program which can be read by our embroidery machines. At MarkIt, we use Tajima DG/ML by Pulse. Digitizers aren’t just digital artists. It requires a very complex knowledge of the different stitch types, fabric types, backing types, and proper pathing for your design to run cleanly once sewn out.
The first step in digitizing art for embroidery is trouble shooting the design and considering the fabric it will be sewn on. We look for small detail or letters that won’t sew well to inform you or your client if something won’t work. Then we come up with a plan to produce the best looking and performing embroidery. This plan is communicated through the software in terms of the type of stitch, density of the stitching, pull compensation of the stitching, what type of underlay stitch will be used, thread colors, logo size, and the best path to run all of the stitching that will be used.
Once the digitizing is completed we send the design on to the machines to be ran for the first time. If we are unhappy with the first sew out we go back into the digitizing and make any necessary adjustments to ensure quality embroidery. We then run another sew out to confirm everything is in order. If everything comes out as planned we snap a photo of the design and generate a sew sheet with all of the files details. We then send this on to you for final approval. Once everything is approved and everyone is happy we save the file in its respective folder for production and any future orders.
Thanks for reading!


