What Happens Before Your First Print
August 13, 2018
How does your artwork turn into a brand new screen printed item? There are many steps in the process that, depending on the image, may be complicated and time consuming. Luckily, the stalwart art team at MarkIt Merchandise is here to help explain it! The following is an explanation of the process from the first email to the first embellished item coming off the press.
From the moment we first receive your email the clock starts ticking. We have a 24 hour turn around for responding to your art work, concept, and/or Purchase Order. So why does the art department have 24 hours to respond, but my goods aren’t guaranteed ready for 6 business days, you may ask? The reason for the relatively quick turnaround besides just trying to uphold quality customer service, is that the preproduction process requires time.
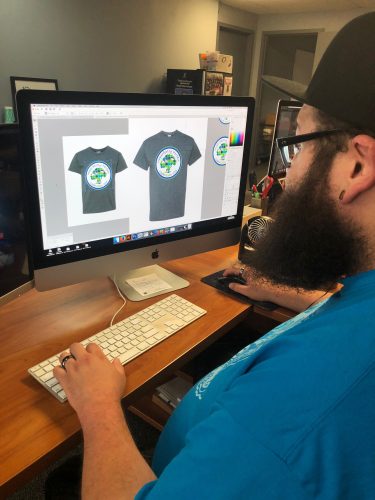
The first thing we do when we receive your email is read the email and PO, and evaluate the artwork. Is the artwork vectored or does it need to be created based off an image, or a description? What kind of product are we printing on and in what location? How many pieces is it, and is it more than one location? How big should the image be on the final product? Will the image require flashing and/or an underlay? Is the print even possible?
These are all things we need to consider when preparing a proof. Assuming the artwork is vectored (or is sufficient quality to do as a simulated process), the next step is preparing a proof, where all the information above is compiled into a easily verifiable “blueprint” for you to evaluate and approve or request changes. This proof is our visual contract for what we think we can deliver to you, and an instruction manual for our coworkers in preproduction and production.
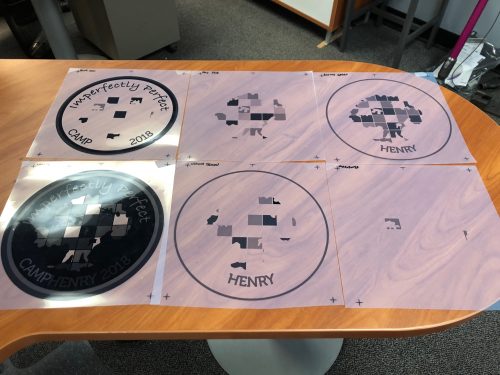
After the proof is approved, we prepare the file to be printed. In the art file on our computers, we separate all the different colors in the image into separate sheets. Each color you see on your computer screen is turned into a black and white negative image corresponding to the ink color that will be printed. Also, to make sure it is easier to line up later, we apply registration marks and add “trapping” (increase the size of each color very slightly to make the puzzle pieces created by the separate colors fit together more snugly). Once this is done we print the separated files on sheets of “film” (transparent sheets of coated acetate) in high opacity black ink from a specially formulated ink jet printer. When the film is ready, we attach it to the proof. Once the job is scheduled we match the proof and film to the PO. It is then handed over to preproduction to make the screens.
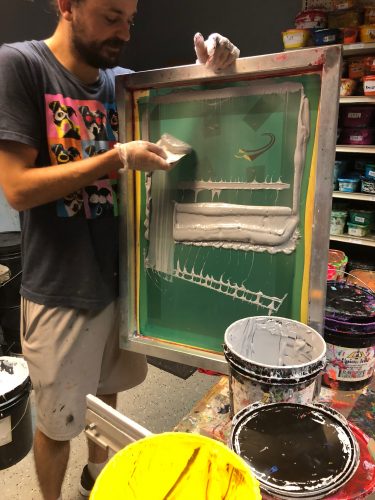
The screens we use are of varying mesh; from very fine “silk” meshes (where the name “silk screen” comes from) to coarse “screen door” type meshes. For high detail, higher thinner meshes are required. However, for thick inks, inks that require high opacity such as whites and specialty inks such as discharge or glitter, lower coarser meshes are used.
The first thing we do when burning a screen is figure out what mesh screens we need with photo-reactive emulsion. If we do, then we align the film on a light box, attaching each piece of film to a carrier sheet to make sure the registration stays intact when the screens are burned and put on press.
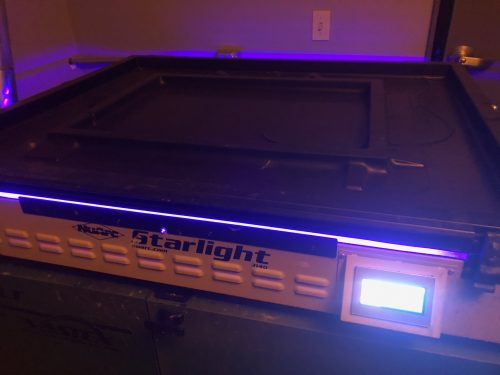
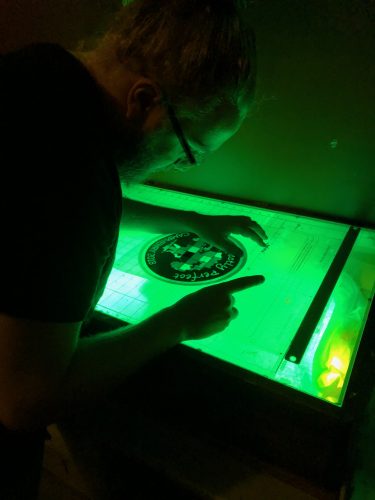
Then we “burn” the film into the screen, using a vacuum sealed exposure unit that sandwiches the film and carrier sheet onto the photo reactive emulsion coating the screen and exposing it to UV light from a LED. Once this is done, we take the exposed screen to the wash out sink and spray it out with water.
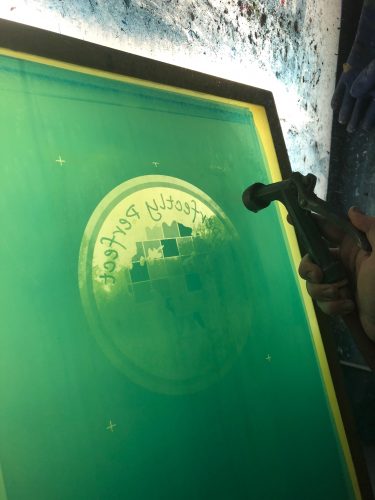
Looking at the burned screen before it is washed out, it is hard to tell anything is different from before it was burned. However, where the light in the exposure unit touches the emulsion, the emulsion is now cured and water resistant. Where the film negative blocked the light from hitting the emulsion, the emulsion is not cured and can be washed away with water. By patiently spraying the screen on both sides, as the emulsion washes away, the image slowly appears.
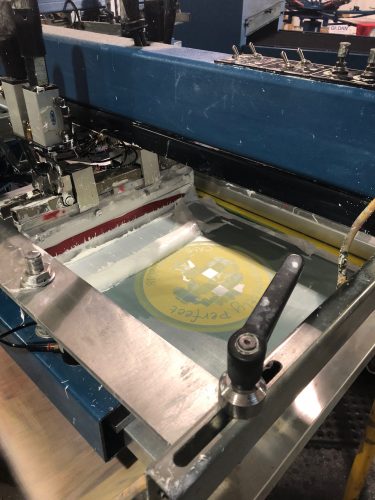
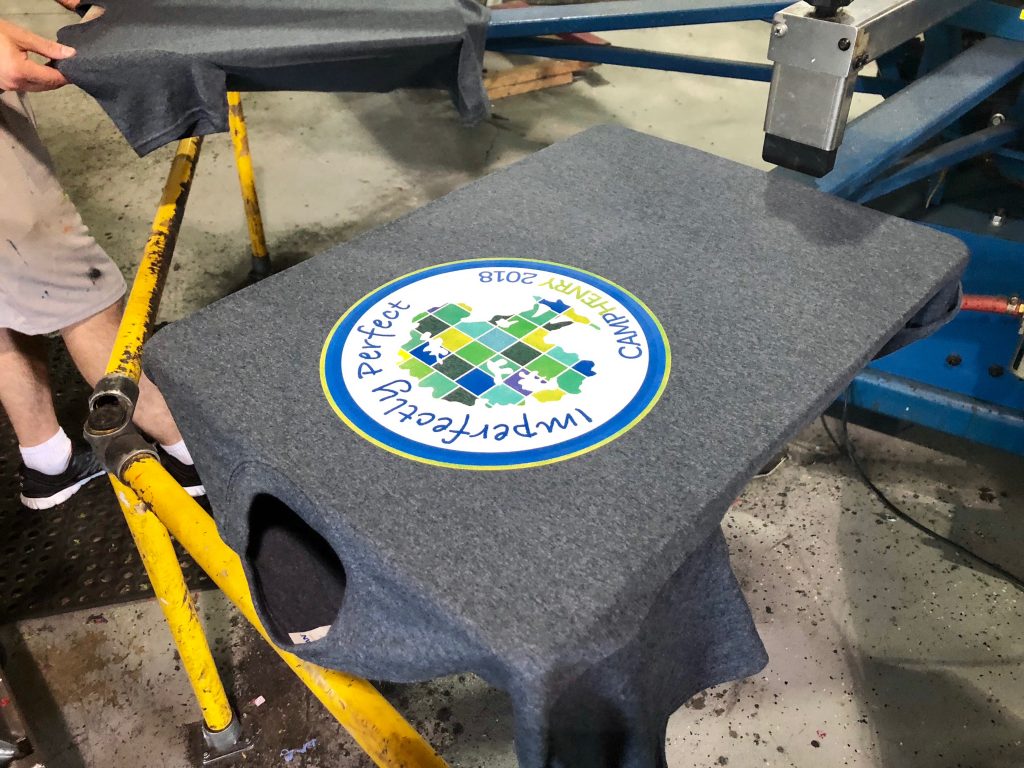
When put on the press, where the mesh is exposed ink will print. Although, where the cured emulsion covers the screen ink will be blocked. This process is done for every piece of film. Therefor every color in the image, unless part of it is meant to be shirt color, will print. After the images are washed out, the “stencil” created by the screen is still fragile until it is dry. Once the screens are dry, the parts of the screen where we don’t want ink to come through. The sides of the screen where the emulsion doesn’t reach are taped off. The screens are then put on the press using a system to maintain the screens alignment to each other. The screens are loaded with ink and the squeegees and flood bar are put on the press. The process of registration begins.
In order for the print to look good, all screens must be aligned to each other to recreate the desired image. Depending on the number of screens, this process can take a few minutes up to a couple of hours. The screens are slowly register by printing each screen individually and checking their registration marks in relation to each other. Adjusting and fine tuning the screen alignment based on this information is crucial.
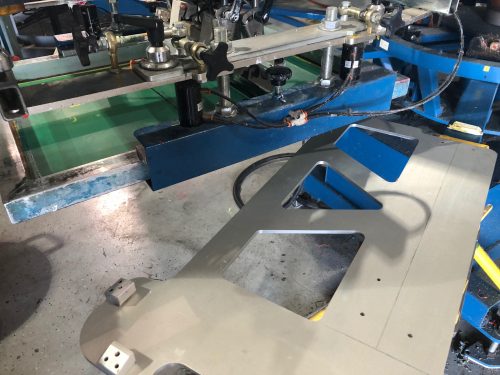
Once the screens are registered, the registration marks are taped off. The press operator then calls a member of the art department or the shop manager for approval. The person making the approval double checks everything on the proof to make sure it corresponds to the printed image. They also check for small blemishes or holes in the screen that might be printing accidentally. Once everything is checked and okayed, the image is finally ready to print! The press operator then ensures the platens are sticky enough and in the correct location. The press is checked if it’s programmed correctly and then the printing begins.
Written by Brad Fowler, Art Department.
Contact us with any questions or to get the process started with your design!