What Happens Before Your First Embroidered Garment
October 10, 2018
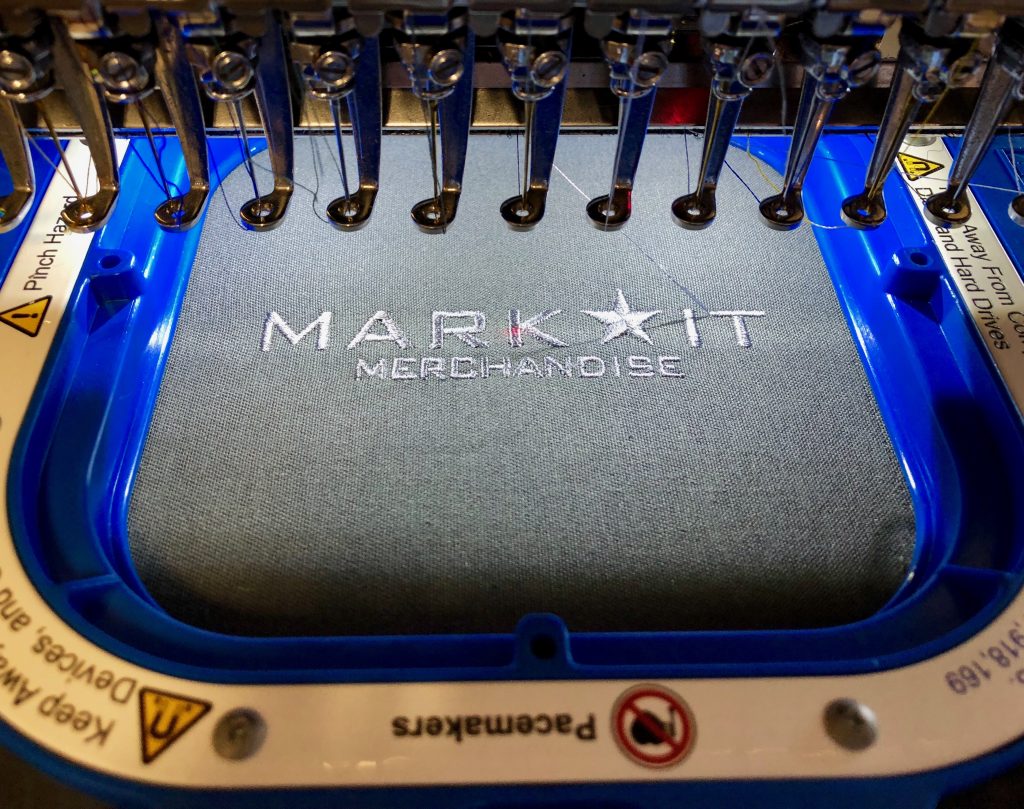
Previously, we discussed the process of screen printing from beginning to end starting with your email to us and ending with the first approved print on press. This month we will be covering the same process but with the wonderful world of embroidery.
With embroidery, we have a 48-hour window from the time you send us the art until the time we get you a photo of a physical sew out for a final approval before production. There are a few factors that can alter this time frame. The art may not be usable due to too fine of detail, small text, or low-quality image. We make sure to let you know as soon as possible if there will be any issues with your design and offer alternative options. Unlike screen print, we do not need a vectored art file. We are able to accept a much wider range of file formats.
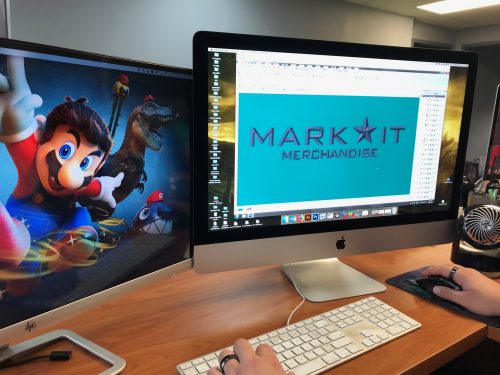
After we have determined that the art will work, we move on to digitizing. We make any adjustments needed at this point. Digitizing is the process where we convert your art into a digital format that can be processed by our embroidery machines. It works very similarly to vectoring your artwork for screen print. Although, in this process we tell the design what type of stitching to use, what colors, density, pull compensation, underlays, etc. There are a lot of fine details that go into adjusting a digitized file for embroidery. These details change with each individual design.
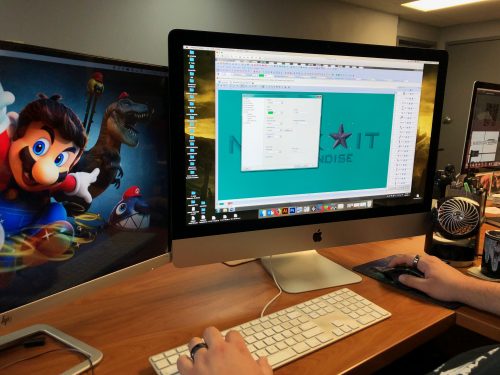
Once we have digitized the file and made sure it has all of the correct properties and colors, it is time to prep for a physical sew out on a piece of scrap fabric. The design is converted to a DST file and loaded onto a flash drive to then be loaded into the machine.
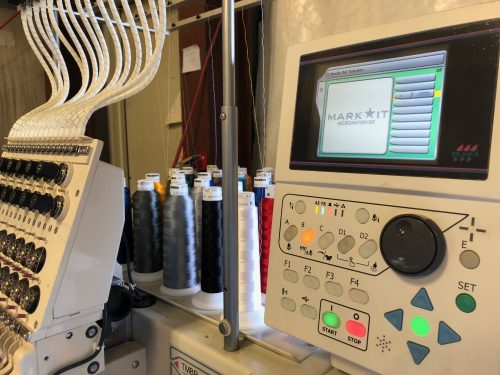
Once it’s been loaded into the machine, the operator will need to program in the thread colors and make sure the proper thread colors are tied onto the machine. Each machine has a different number of heads ranging from 1 to 8 heads. Each head holds 15 thread colors. They also check the needles to make sure they are using the correct size for the fabric. There are a range of different style and size needles that can be used depending on the logo and garment. The scrap fabric is then hooped with the proper backing and loaded on to the machine.
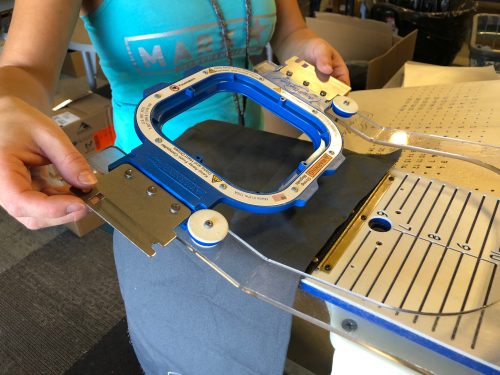
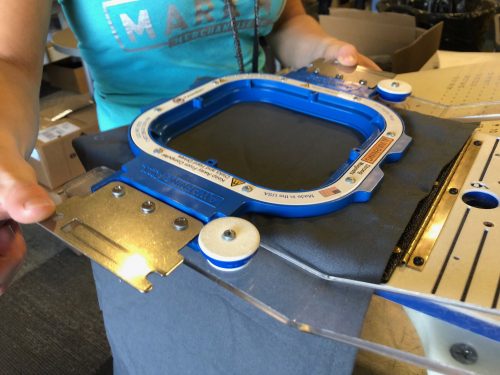
We then do a trace to make sure the logo will fit inside of the space in the hoop. Once this full check list has been completed, the sew out is ready to run.
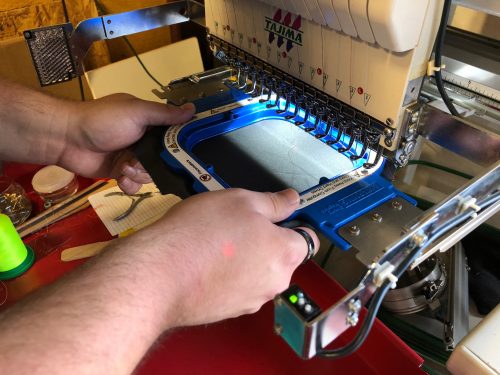
The completed sew out is then inspected for quality. If we see anything that doesn’t look quite right, we bring it back to the digitizing phase and make any necessary adjustments before running another sew out. If the design looks correct, we then cleanly cut it out on a cutting mat and snap a photo to email for approval. In the email, we provide a photo of the sew, dimensions and the stitch count.
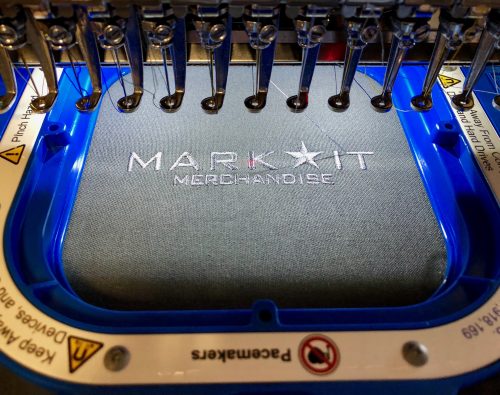
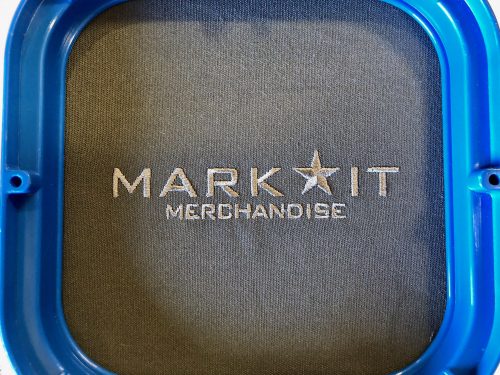
Once the photo of the physical sew out has been sent, we wait for the final approval. If it needs any adjustments, we go back to the digitizing phase again and then run another sew out to send over for approval. Once we have the final approval on the design, the purchase order, and the product, it is put on the schedule for production. You know the rest of the story from there.
Written by Jesse Brown, Art Director.
If you have any questions please feel free to contact us.
